Week 2: Laser Cutting
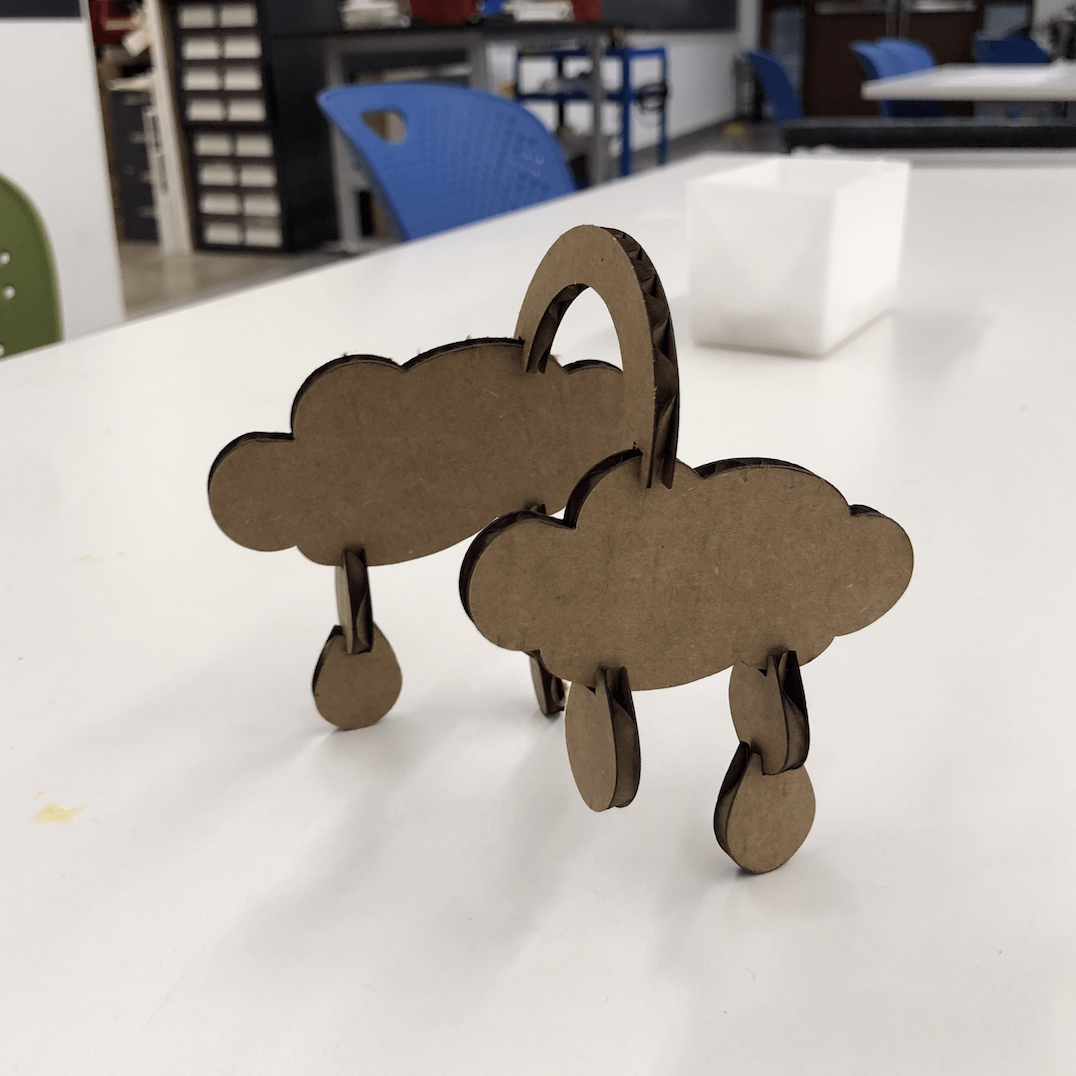 Below are the pieces I ended up desinging in Fusion 360.

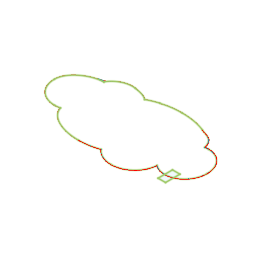
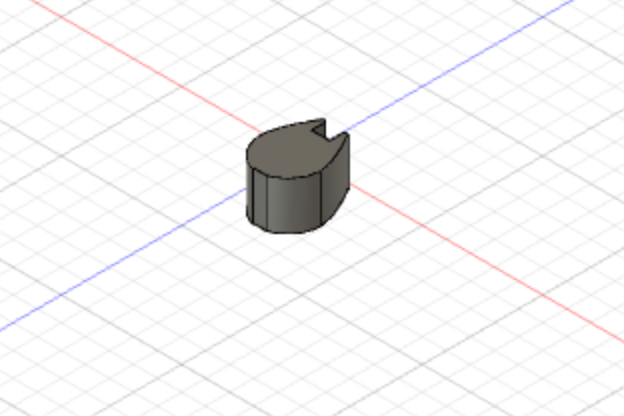
These are designs I created using some of the images I found on a website after searching for press-fit construction kits.
Documentation Week 2:This is the link I used to download the ".svg" files. To input these files into Fusion 360, I followed a fairly simply process.
- Download .svg files
- From here, press enter, and you'll receive a shape like the one below:

- Hover over the new shape, and click when hilighted
- Find and click "Extrude" in the menu bar, and pull your image into the three dimensional plane to obtain the shape below
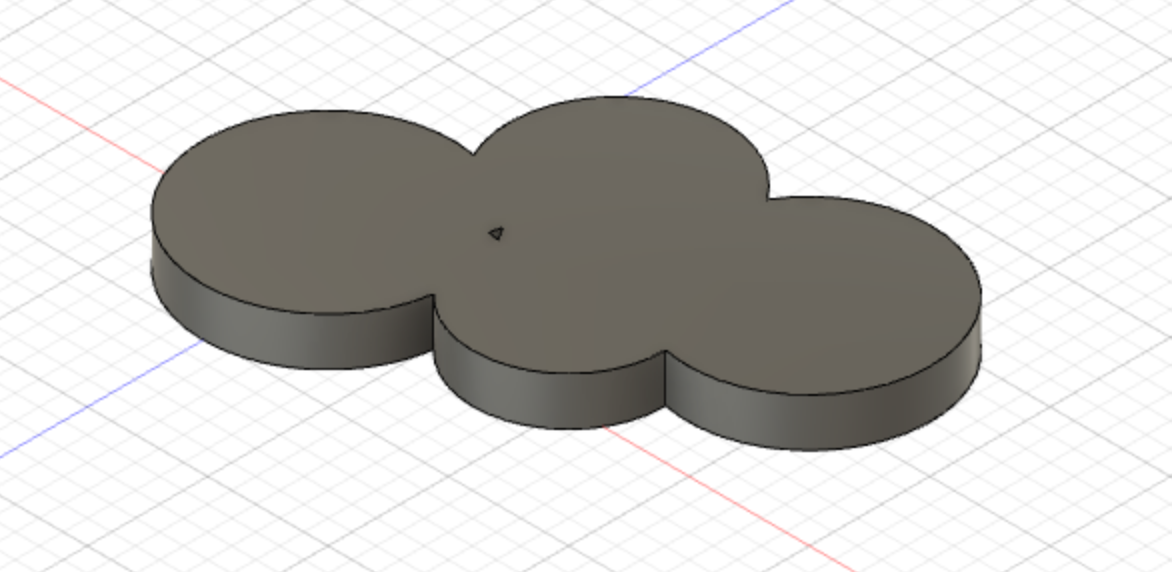
- Finally, in the lefthand menu, right click your sketch and save as a DXF file
Once importing to the laser cutter, by following the instructions on top of the machine, you will be able to cut out your dxf files on the laser cutter. At first my DXF outlines were too small. The raindrops were unable to firmly grasp the cloud. However, I went back to the program on the computer next to the laser cutter and chose to expand all of the pieces (rainbow, cloud, and drops), and then the pieces fit much better together.

Initally, I tried to complete the below sketch, by inputting this image as a background in Fusion 360. Then from there, I attempted to create lines and shapes around this background, esentially using the below image as a "template" to draw on. However, this proved mildly difficult so I approached the .svg approach outlined above.
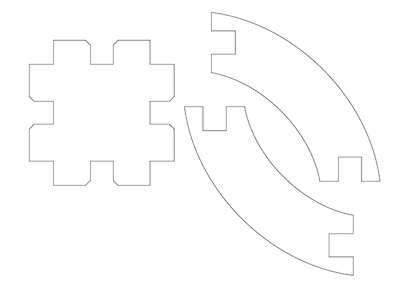
Once I obtained my DXF image, I tried to use the laser cutter but ran out of time as I could not quite figure out all of the settings involved. I will try again tomorrow to make the shape for class on Thursday.